Choose your violin settings
Choose a violin size:
4/4
3/4
1/2
Include built-in supports?
With Supports
Without Supports
Single Piece or Multi-piece Chamber?
Single Piece Chamber
Multi-piece Chamber
DOWNLOAD
Warning!!! As with any craft, violin making and 3D printing requires attention to safety. Do not attempt to build the violin without parental supervision. When in doubt, ask for assistance.
1
Shopping List
PLASTIC
We like Hatchbox filament because of its quality and low cost, but any filament on Amazon with a 4 star rating from more than 10 people is probably fine.
TUNERS
The Hovalin is designed specifically to these tuner dimensions, so please use them:
ROSIN
Rosin helps to keep your violin from squeaking and keeps the bow on the strings. Here are a few brands of rosin that we suggest:
STRINGS
Strings can be expensive. We are fans of high value, low cost. Here are a few brands of strings that we endorse:
CARBON FIBER RODS
8mm (aka 5/16 inch) outer diameter by 500mm length carbon fiber rod. No cutting necessary
BOW
Bows can also be expensive, we are fans of high value, low cost. Here are a few brands of bows that we support.
2
Print Parts

New to 3D printing?
In order to make the violin we’re going to need a 3D printer. It needs to be wide enough to print the neck (~300mm) and tall enough to print the violin body (~360mm).
First Layer Problems
A majority of the problems from 3d printing can stem from the first layer not adhering properly to the print bed. We recommend taking the following precautions when printing:
- Always make sure the bed is properly leveled.
- Put down fresh blue tape if any of the print area's tape shows signs of peeling.
* extra credit *
Sand the blue tape with 100 grit sandpaper to help prevent warping
We're not trying to write the book on 3d printing. A great first step down the rabbit hole can be found here.
All together, the violin will take ~500 grams of plastic to print. Assuming there aren't too many failed prints, you should be able to make the entire hovalin with a single 1kg roll of plastic.
The Neck
11 PRINT HOURS | 90g PLASTIC
Layer Height: 0.2mm
Infill: 30%
Perimeters: 3
DOWNLOAD
The Body
36 PRINT HOURS | 400g PLASTIC
Layer Height: 0.3mm
Infill: 30%
Perimeters: 2
DOWNLOAD
The Bridge
1 PRINT HOUR | 10g PLASTIC
Layer Height: 0.3mm
Infill: 30%
Perimeters: 2
DOWNLOAD
3
Clean Up
Remove all buildplate adhesion material and supports.
Sanding the fretboard will help get rid of any buzzing overtones. It can also give the violin a more finished look. I've had good results by sanding at 100 grit, then moving on to 300, and then 600 grit sandpaper.
Sanding the fretboard will help get rid of any buzzing overtones. It can also give the violin a more finished look. I've had good results by sanding at 100 grit, then moving on to 300, and then 600 grit sandpaper.
4
Install Tuner Pegs
Snap off the screw holes on the tuner pegs using a wrench.
Insert the tuning pegs into the violin neck as shown in the picture.
Once the pegs are pushed into place, screw in the top piece, first by hand, then using a 10mm hex wrench.
5
Assemble
Fit together the neck and chamber pieces. Once the pieces are locked together, insert the carbon fiber rod through the top of the neck down through the chamber so that it is flush with the top of the neck.
6
Install Strings

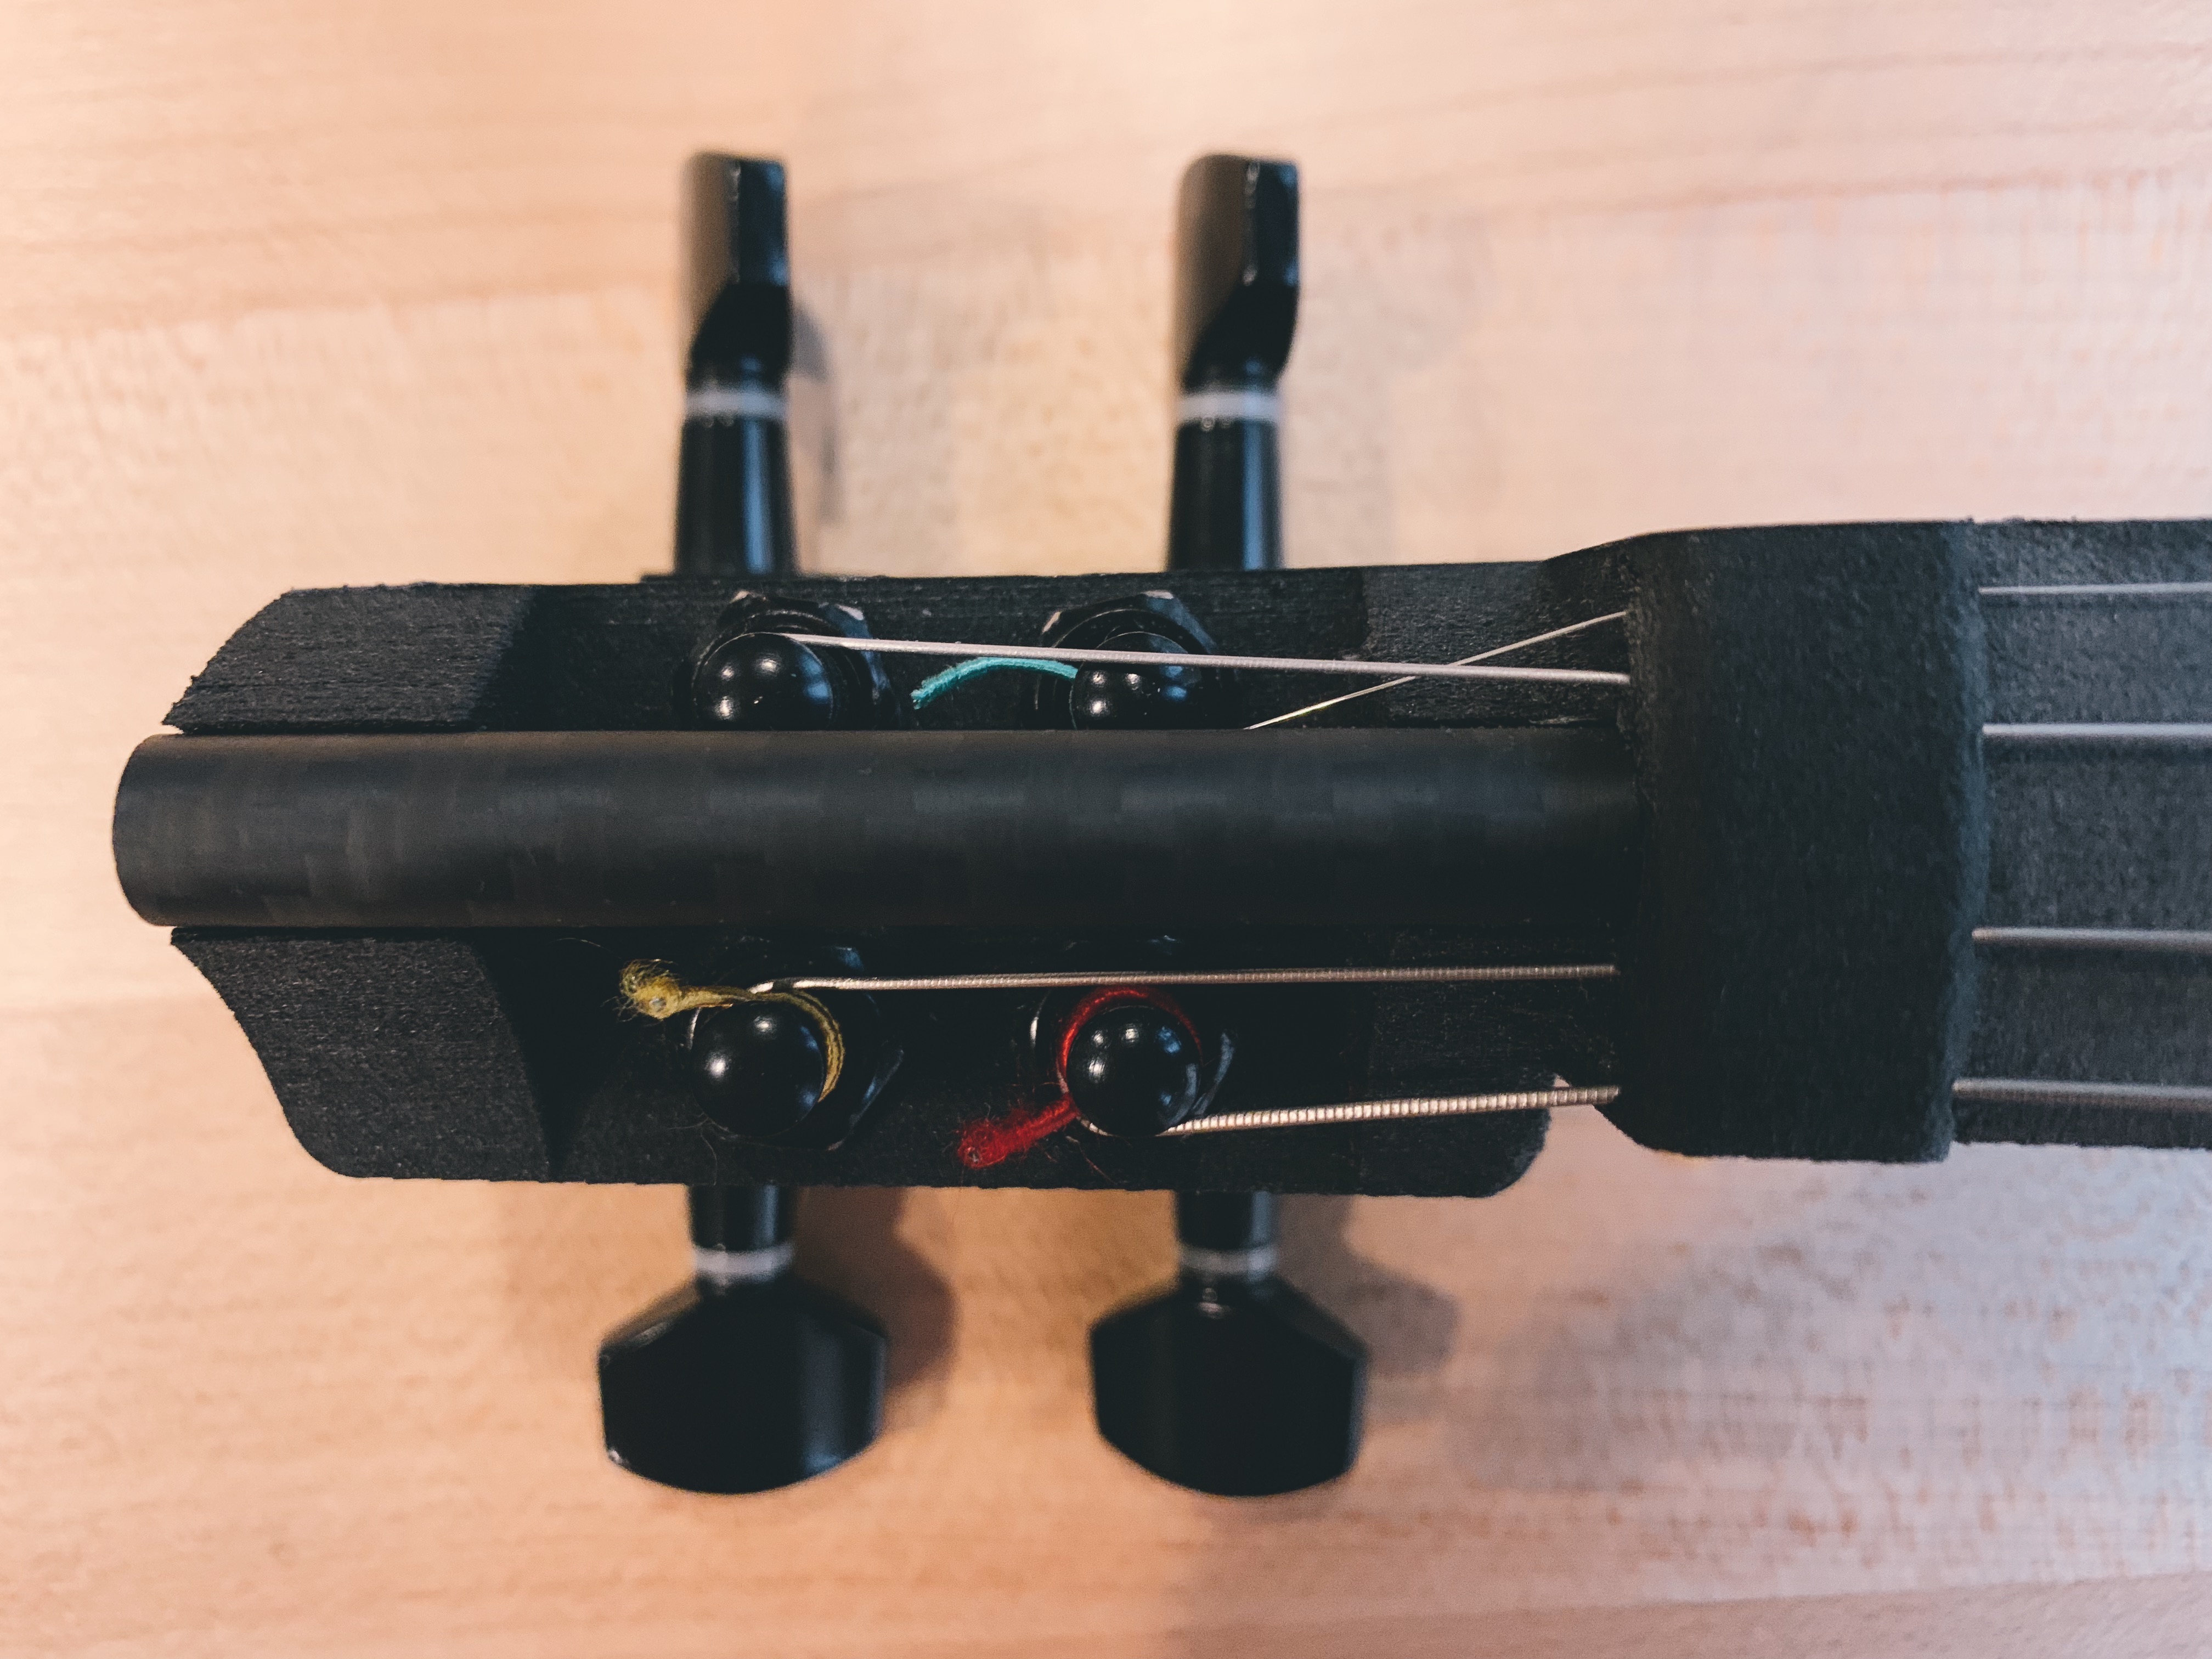
Feed the strings through the hole at the base of the violin, through the hole at the top of the neck, and then through the tuning peg.
updates and news
Join our mailing list
Copyright Hova Labs 2019 - 2025